搭建多云高可用 K3s 集群
VPS resources
高可用集群涉及到了四个云服务厂商,除了 CloudCone 都是免费套餐资源,每年集群总成本为60刀。
// ClcouCone Los Angeles
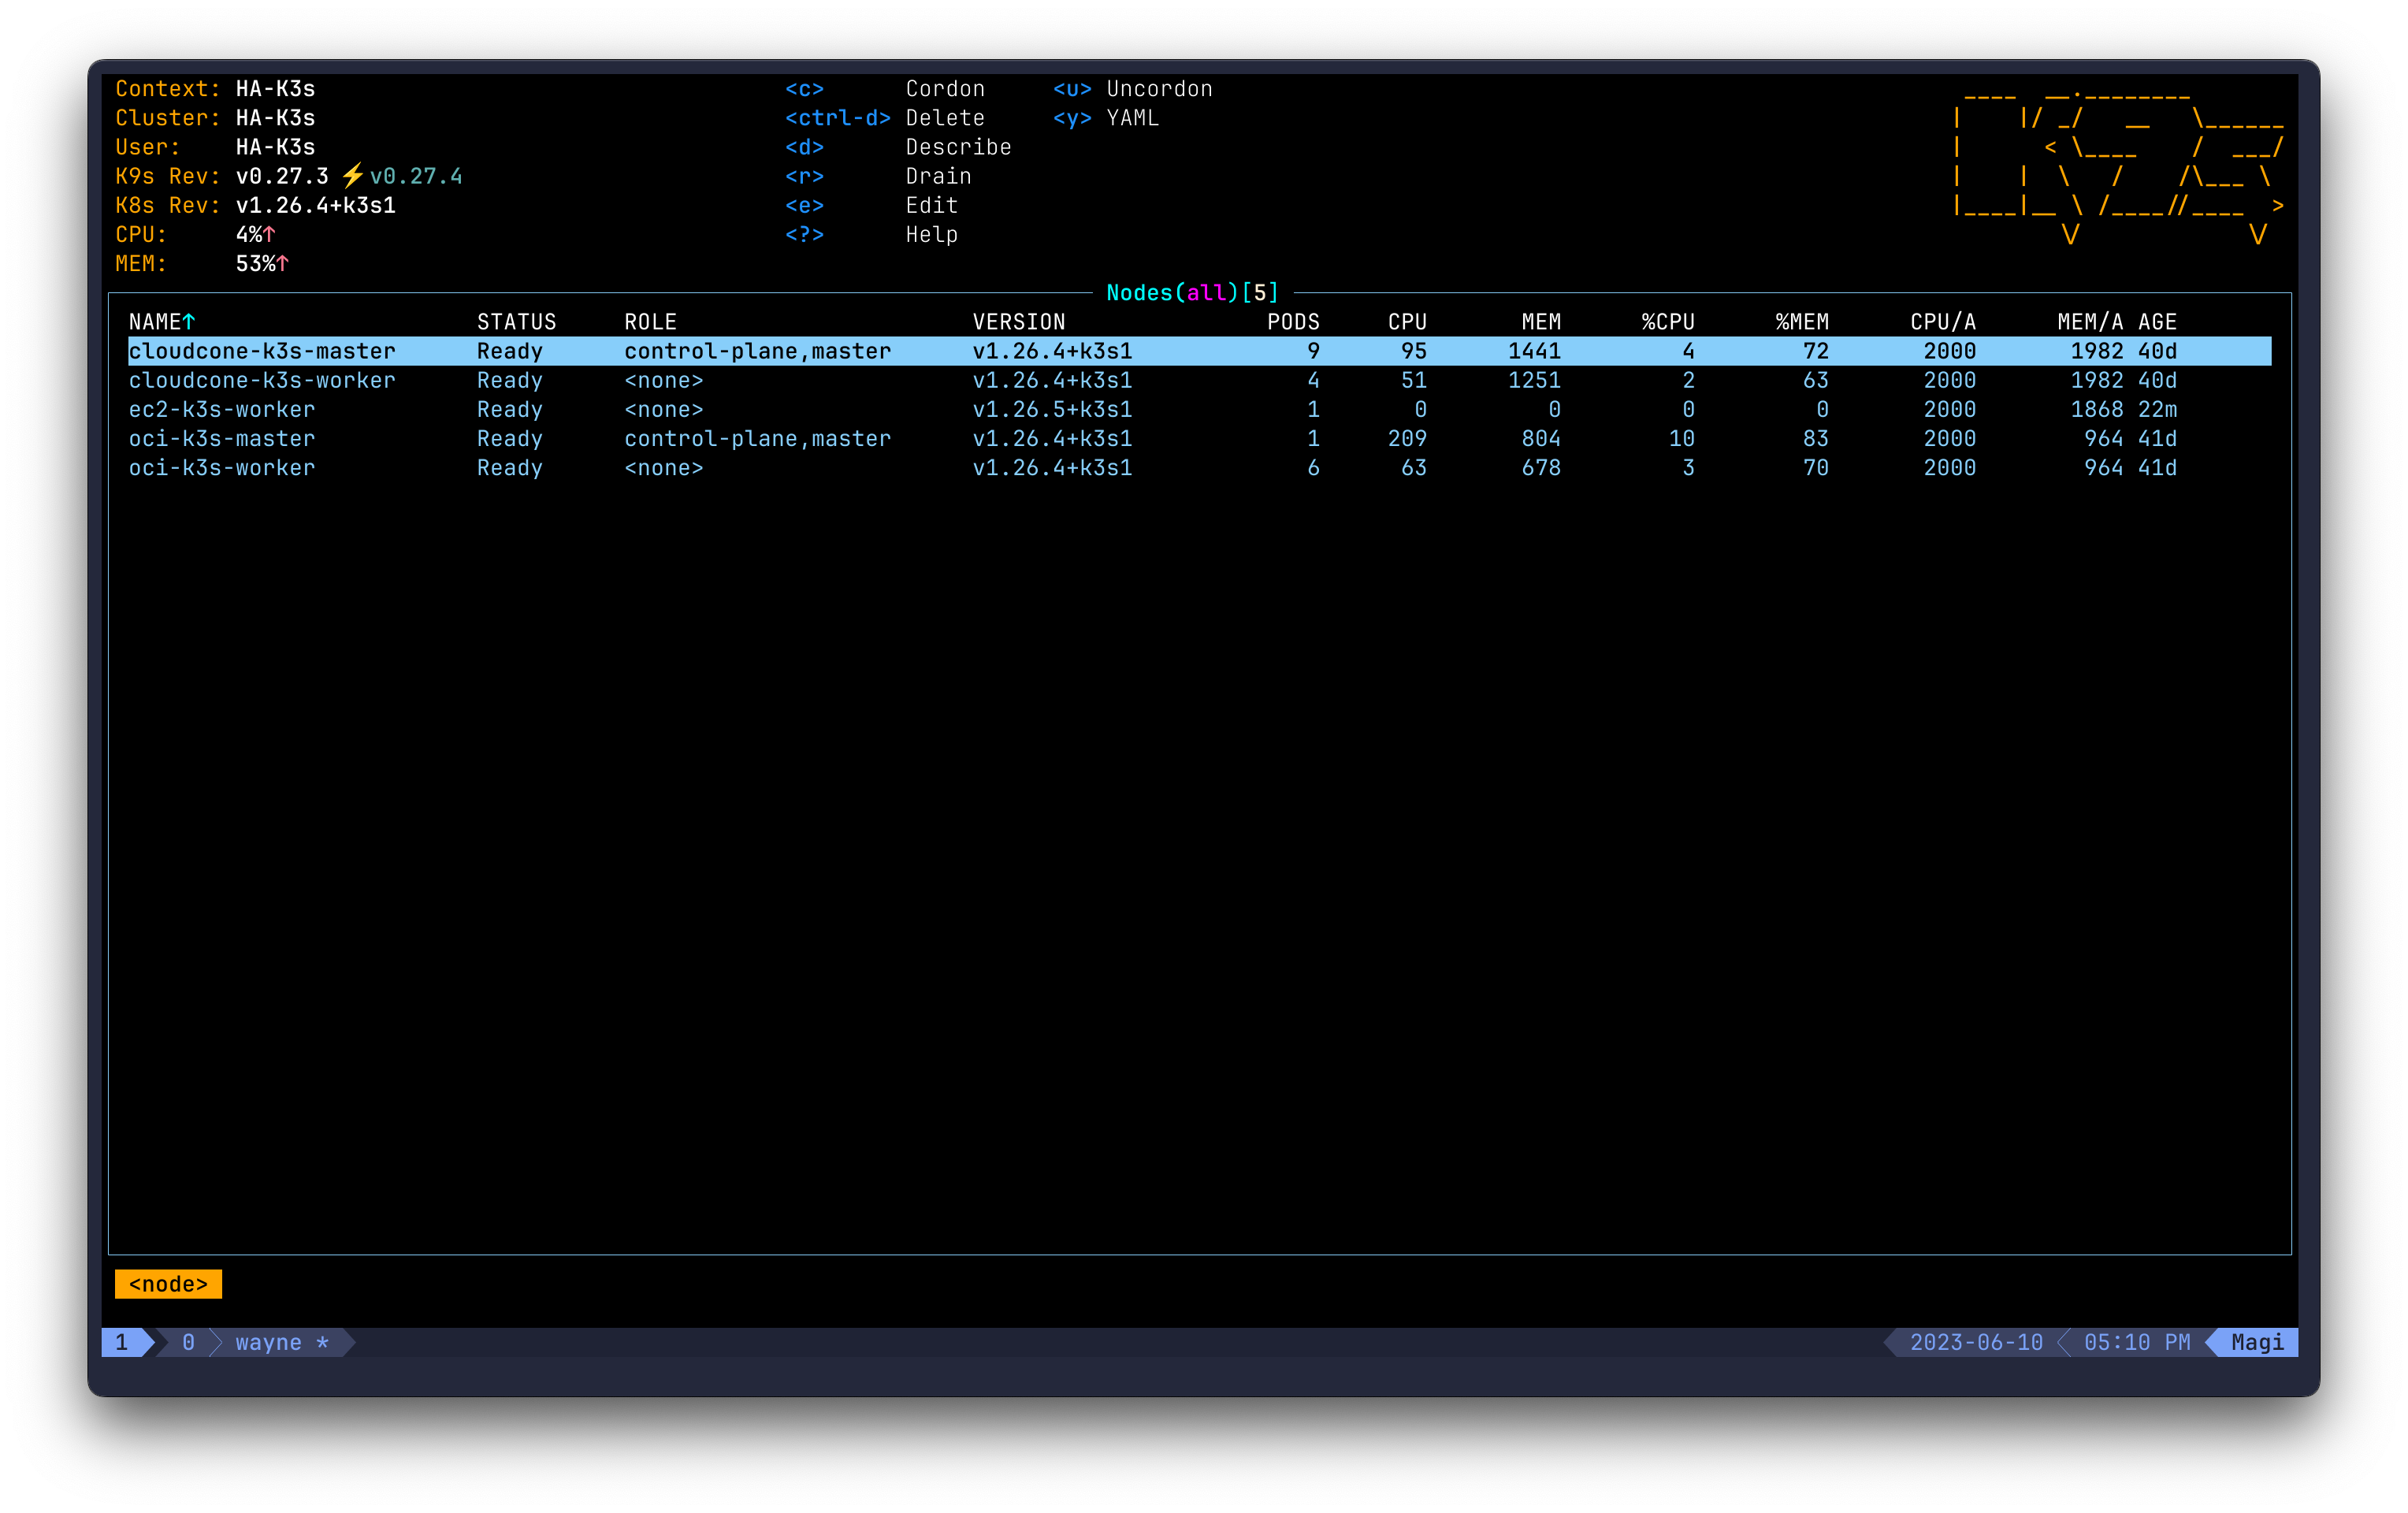
192.168.0.1 2C2G Debian 11 cloudcone-k3s-master
192.168.0.2 2C2G Debian 11 cloudcone-k3s-worker
// Vultr Los Seattle
192.168.0.3 1C0.5G Debian 11 External database
// Oracl Cloud Tokyo
192.168.0.4 1C1G Ubuntu 22.04 oci-k3s-master
192.168.0.5 1C1G Ubuntu 22.04 oic-k3s-worker
// AWS EC2 Tokyo
192.168.0.6 2C2G Debian 11 ec2-k3s-worker
Pre-request
Oracle Cloud Setting (optional)
针对 Oracle Cloud 的机器,需要关闭 UFW 并且在网页控制台对应安全组开放对应的端口
Ubuntu 开放所有端口
iptables -P INPUT ACCEPT
iptables -P FORWARD ACCEPT
iptables -P OUTPUT ACCEPT
iptables -F
Ubuntu 删除防火墙
ufw disable

apt-get purge netfilter-persistent && reboot

or

rm -rf /etc/iptables && reboot
WireGuard
因为要需要用到 WireGuard 所以要求 Linux 发行版内核版本要求 >= 5.6,可以通过运行 uname -r 来查看内核版本。
在每一台 VPS 上安装 WireGuard 并且开启 IPV4 IP 转发。
apt install -y wireguard

echo "net.ipv4.ip_forward = 1" >> /etc/sysctl.conf

sysctl -p
配置 WireGuard,在每台 VPS 上执行下面命令生成私钥和公钥
wg genkey | tee privatekey | wg pubkey > publickey
编辑每台 VPS 的 /etc/wireguard/wg0.conf
[Interface]
PrivateKey = cloudcone-k3s-master's private key
Address = 192.168.1.1
ListenPort = 5418

[Peer]
PublicKey = cloudcone-k3s-worker's public key
EndPoint =  cloudcone-k3s-worker's public IP:5418
AllowedIPs = 192.168.1.2/32
使用 wg-quick up wg0 创建虚拟网卡,配置 WireGuard 开机自启动
systemctl enable wg-quick@wg0

systemctl status wg-quick@wg0
External database
要实现高可用,所以选择使用外部 PostgreSQL 作为外部数据库
curl -fLsS https://get.docker.com/ | sh

docker run --name psql -v "$PWD/psql":/var/lib/postgresql/data -e POSTGRES_PASSWORD=123456 -p 5432:5432 -d postgres:14-alpine
K3s installation
K3s-Server 安装
curl -sfL https://get.k3s.io | INSTALL_K3S_EXEC="server --node-ip=192.168.1.1 --node-external-ip=<Public-IP> --flannel-backend=wireguard-native --flannel-external-ip" sh -s - --datastore-endpoint="postgres://postgres:[email protected]:5432/kubernetes?sslmode=disable"
加入其他 Server 节点
curl -sfL https://get.k3s.io | INSTALL_K3S_EXEC="server --server https://192.168.1.1:6443 --node-ip=192.168.1.4 --node-external-ip=<Public-IP> --flannel-backend=wireguard-native --flannel-external-ip" K3S_TOKEN=<TOKEN> sh -s - --datastore-endpoint="postgres://postgres:[email protected]:5432/kubernetes?sslmode=disable"
K3s-Agent 安装,在 server 节点获取 token,cat /var/lib/rancher/k3s/server/token
curl -sfL https://get.k3s.io | K3S_URL="https://192.168.1.1:6443" K3S_TOKEN=<TOKEN> INSTALL_K3S_EXEC="agent --node-ip=192.168.1.6 --node-external-ip=<Public-IP>" sh -s -
NFS Storage
集群使用 NFS 作为存储,在存储节点上进行安装
apt install -y nfs-kernel-server

mkdir -p /nfs && chown nobody:nogroup /nfs
编辑 /etc/exports
/nfs 192.168.1.0/24(rw,sync,no_subtree_check,no_root_squash)
执行下面命令更新 NFS 导出表:
exportfs -ra
安装 Helm
curl -fsSL -o get_helm.sh https://raw.githubusercontent.com/helm/helm/main/scripts/get-helm-3

chmod 700 get_helm.sh

./get_helm.sh
安装 NFS Subdirectory External Provisioner
helm repo add nfs-subdir-external-provisioner https://kubernetes-sigs.github.io/nfs-subdir-external-provisioner/

helm install nfs-subdir-external-provisioner nfs-subdir-external-provisioner/nfs-subdir-external-provisioner \
    --set nfs.server=x.x.x.x \
    --set nfs.path=/nfs